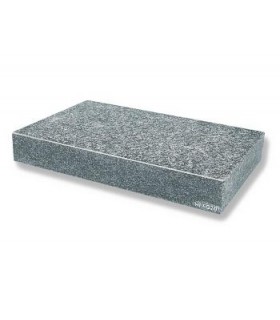
Surface plate in black granite. Compact, uniform and of high precision. For use in the metrology room. Black granite offers many advantages over cast iron: the possibility of manufacture to the smallest tolerances;...
Filter By
Filter By
Home
Surface plate in black granite.Compact, uniform and of high precision.For use in the metrology room.Black granite offers many advantages over cast iron: the possibility of manufacture to the smallest tolerances;...
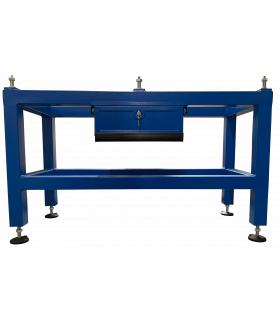
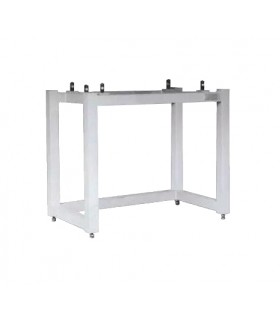
Support table in painted steel for surface plates in cast iron and granite.Provided with adjustment feet and anti-vibration supports.
Supplied with drawers.
PDF TAB
Support table in painted steel for surface plates in cast iron and granite.Provided with adjustment feet and anti-vibration supports.
PDF TAB
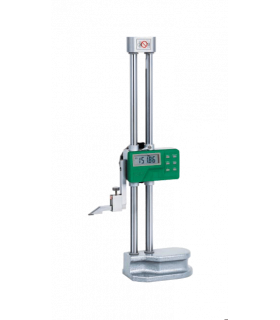
Carbide tip, large display.Crank shift.
Workshop series.
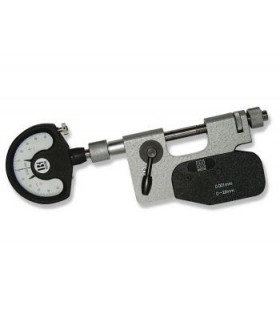
Adjusting snap gauge for outside diameters. Steel frame. Fine adjustment for the fixed contact. Range of moving contact 3 mm. Carbide contacts. Supplied without dial indicator.
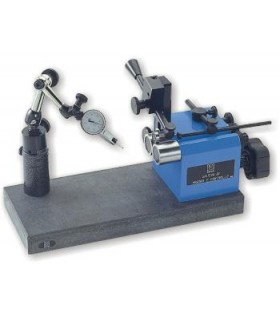
Instrument for checking concentricity and perpendicularity.Very robustly designed instrument suitable for checks to be carried out both in the workshop and in the metrological room.Ease of setting up and ease of use...
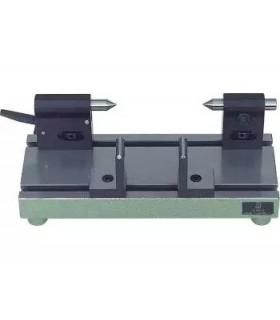
Universal table for checking shafts.The table allows checking cylindrical pieces and, suitably equipped, allows to detect: diameters, taper, lengths, concentricity, etc. ….Two “V” blocks or two tailstocks, depending...
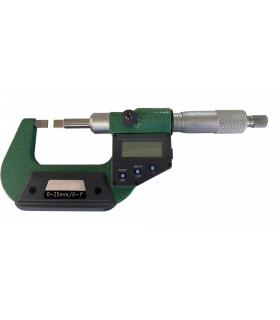
Micrometer with blade contacts.Suitable for measuring the diameter of grooves and external grooves, with a resolution of 0.001mm or 0.00005".The head connot be rotated.
The micrometer has the following functions:...
