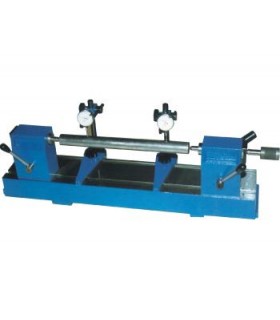
Inspection bench for shaft concentricity checks.Made entirely from cast iron and face-hardened steel.Comprises a base on which two sliding supports stand.One support has a fixed point and the other a sliding point.The...
Surface Plates
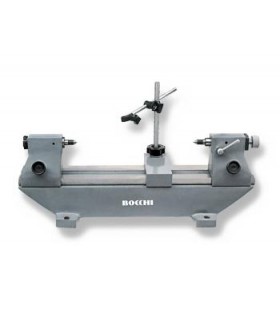
Two-point device for checking concentricity.Made of stabilized cast iron, with ground sliding surfaces, equipped with dial gauge holder support.
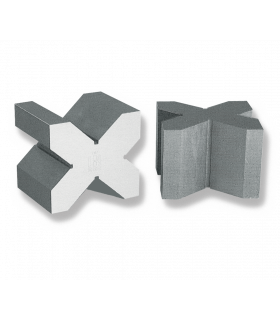
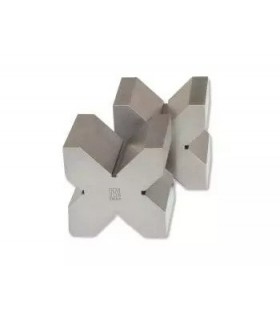
Cross parallelsof very high precision.Made in tempered and stabilized stainless steel, entirely ground.With four "V" notches " at 90°.Manufactured according to precision and parallelism <=0,005 mm.Supplied in...
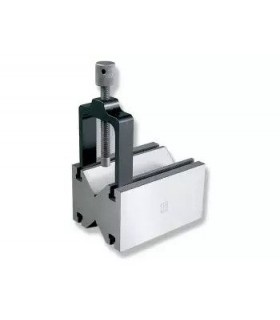
Prism with clamp made of hardened and stabilized stainless steel, entirely ground. With two 90° "V" notches. Built according to precision of flatness and parallelism < ; = 0,005 mm.Supplied single.
PDF TAB
V-blocks made from G25 perlitic cast iron.Entirely ground. With four 90º “V”s. Manufactured to tolerances of planarity and parallelism as per DIN 2274.The cross parallels are supplied in pairs.
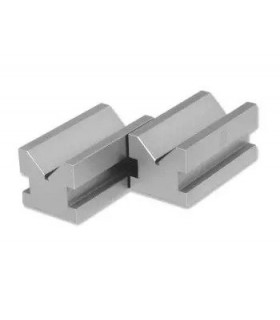
Right angle prisms in G25 pearlitic cast iron.Entirely ground, with a 90° "V" notch, made in pairs with flatness and parallelism tolerance according to grade 2 of the DIN 2274 standard.Supplied in pairs.
PDF TAB
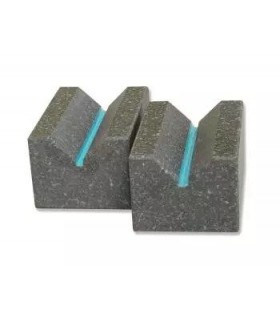
Black granite prisms of very high precision, suitable for checking cylindrical parts.The tolerances in the table refer to the flatness of the support surface, to the parallelism between the latter and the axis of the...
“Go” type ring gauges in a special steel-chrome alloy.Excellent resistance to wear, core-hardened, tempered and stabilised.Available from Ø 3 to Ø 100 mm to tolerance H7.Rings with measurement etched and suitable for...
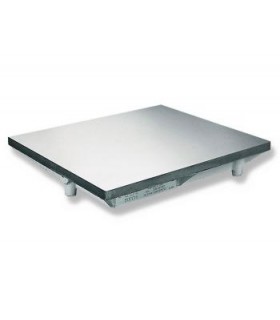
Surface plate in G25 cast iron free from blowholes or structural flaws. Seasoning of the surface plate is achieved naturally. The perlitic surface plate is supported by rests and ribbing arranged to balance out...
