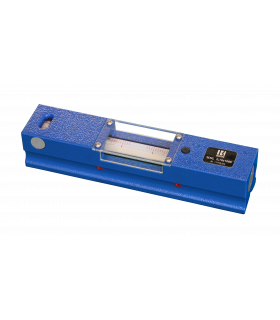
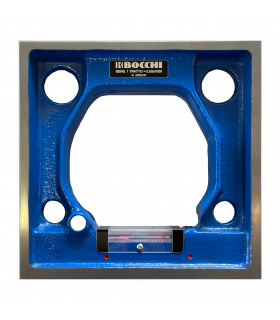
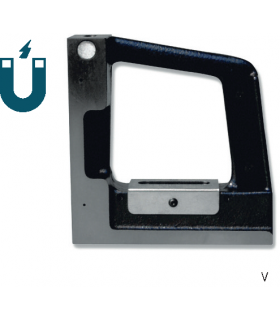
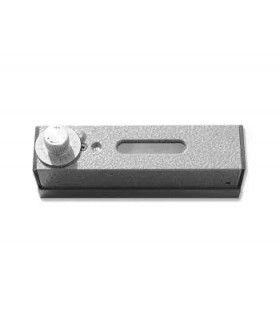
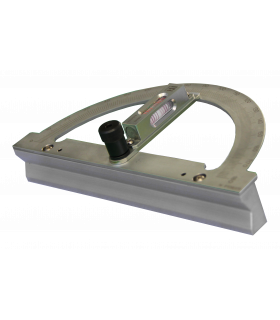
Cast iron linear spirit level.Seasoned to prevent any deformation due to residual tensions.Flat base with V-groove.
All resting surfaces are ground and the frame is treated to ensure maximum reliability.Serial...
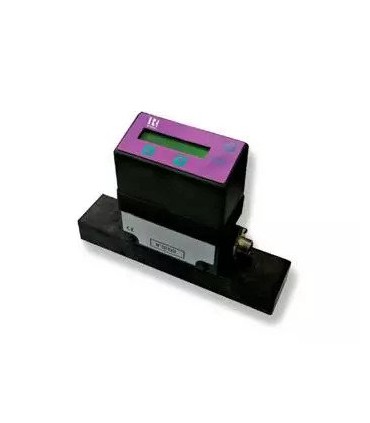
The new electronic level is an high precision instrument with the following specifications:
MICROPROCESSOR-BASED LOGIC
LINEARITY AND FLATNESS MEASURES
FACTORY-SELECTABLE MEASURE UNIT: μm/m, sec, mrad
ONLY THREE KEYS KEYBOARD: UP, DOWN AND ON/OFF
OPTIONAL WINDOWS SOFTWARE FOR DATA PROCESSING
Size chart
Women's clothing size
| Size | XS | S | M | L |
|---|---|---|---|---|
| Euro | 32/34 | 36 | 38 | 40 |
| USA | 0/2 | 4 | 6 | 8 |
| Bust(in) | 31-32 | 33 | 34 | 36 |
| Bust(cm) | 80.5-82.5 | 84.5 | 87 | 92 |
| Waist(in) | 24-25 | 26 | 27 | 29 |
| Waist(cm) | 62.5-64.5 | 66.5 | 69 | 74 |
| Hips(in) | 34-35 | 36 | 37 | 39 |
| Hips(cm) | 87.5-89.5 | 91.5 | 94 | 99 |
How To Measure Your Bust
With your arms relaxed at your sides, measure around the fullest part of your chest.
How To Measure Your Waist
Measure around the narrowest part of your natural waist, generally around the belly button. To ensure a comfortable fit, keep one finger between the measuring tape and your body.
Reference:
ART.0124
Love0
Add to compare0
This electronic system is based on an high performance microprocessor.
The microprocessor is in charge of every operation within the instrument, going from the position transducer (a very sensitive LVDT-Linear Variable Differential Transformer), to the analogue-to-digital converter, to the system calculations and data display.
Measures are continuously taken and processed, to average out electronic noise and high-frequency mechanical vibrations. Sensitivity is as high as 0,5 μm/m (0,1 second of arc).
The internal software manages the whole acquisition process, the measures averaging and the data display on a 16-characters LCD. By means of two keys on the front panel, the measuring reference can be moved up and down, to set the zero and simplify the process. The level may be complemented by a Windows Software +application, especially designed for and easy and straightforward data processing, archiving and printing, as well as graphic rendering of the surface or line under test. This makes it possible to produce a complete and accurate information of the measured surfaces. Supplied in ABS box with user’s guide.
TECHNICAL PROPERTIES:
Resolution: 0,1 sec / 1 μrad / 0,0005 mm/m
Field of measure: 655 sec
Reaction time: 3 sec tipico
Straightness: ±2%
Reference temperature: 20° C – 50% U.R.
Power: Rechargeable batteries
Battery charger power: 220 V – 50 Hz
Autonomy: 10 hours
Recharge Time: about 15 hours
Weight: 2 Kg
|
CODE
|
DESCRIPTION
|
|
01
|
Linear base 100 mm
|
|
02
|
Linear base 200 mm
|
|
03
|
Square base 200 mm
|
|
04
|
Battery charger
|
|
05
|
Interface
|
|
06
|
Software
|
